Escape from Tarkov Kord Breach Battle Pass: All Document Locations
Escape from Tarkov’s first Battle Pass comes with a very Tarkov-like catch: it won’t cost you anything, but you will have to earn every reward the hard way.
The Kord Breach Battle Pass doesn’t use the usual XP bar. Instead, progression is tied to special seasonal items called Documents, which spawn at fixed locations during raids. Find the right Documents, hand them over through the Battle Pass menu, and the corresponding rewards become available.
The good news? There is no premium or VIP progression track hiding behind a paywall.
The bad news is that Tarkov still expects you to work for it.
How the Kord Breach Battle Pass Works
The first Battle Pass in Escape from Tarkov is completely free. There is no paid VIP track, and you can progress through it on your existing characters across the game’s different modes.
Rather than earning Battle Pass XP, you collect specific Document types during raids. Every reward has its own requirements, which you can see by selecting that reward in the Battle Pass interface. Most rewards ask for a certain number of one or more Document categories.
Once you’ve handed in everything required, you can claim the reward.
Documents are physical raid items, so they take up actual inventory space when you pick them up. They do not go into the quest-item inventory. Fortunately, they can be placed inside your secure container, which makes getting them out alive considerably less stressful.
The Battle Pass is synchronized across:
- Permanent PvP characters
- Seasonal PvP characters
- PvE characters
Rewards you’ve unlocked are immediately available to all of your characters and remain unlocked after the season ends or a profile is reset through prestige.
There are a few exceptions. Battle Pass currency, Documents, and Black Division crates do not carry over. Black Division crates are also not shared between characters, and you can claim them for only one character.
You can also buy Documents with real money through the Expansion Hub. That’s where Classified Documents come in.
Document Types and Where They Spawn
There are eight standard Document categories that can appear during raids. Each one is tied to three maps listed in its in-game description.
A ninth category, Classified Documents, works differently. These are universal Documents that can substitute for any regular type and are purchased through the Expansion Hub.
| Document type | What it contains | Maps |
|---|---|---|
| Technical documentation | Operating manuals for TerraGroup equipment | Shoreline, Woods, Lighthouse |
| Medical documents | Medical records containing TerraGroup research findings | The Lab, Ground Zero, The Labyrinth |
| User documentation | Documentation issued to new TerraGroup employees | Ground Zero, Streets of Tarkov, The Lab |
| Test documentation | Records of experiments conducted in TerraGroup-controlled laboratories | Shoreline, Woods, Icebreaker |
| Blueprints and technical documentation | TerraGroup blueprints and technical data backed up onto a disk | Interchange, Factory, The Labyrinth |
| Project documentation | Tarkov Infraline documents and blueprints unrelated to transportation infrastructure | Factory, Reserve, Customs |
| PMC personnel files | TerraGroup personnel records covering PMC operators | Reserve, Lighthouse, Icebreaker |
| Financial documents | Financial reports from TerraGroup and affiliated companies | Customs, Streets of Tarkov, Interchange |
| Classified documents | Universal Document that replaces any regular type | Expansion Hub |
There’s an important detail here: knowing the correct map isn’t enough. Documents don’t simply appear somewhere random on that map. They have specific spawn locations, several of which are listed below.
Seasonal characters have another possible source. Dead Black Division soldiers can spawn on any map and may carry Documents. Black Division soldiers are most commonly seen on Icebreaker and Terminal.
Seasonal characters can also obtain Documents through the Kord Breach seasonal questline.
Classified Documents are the paid shortcut. Because one can replace any regular Document, they let you bypass the hunt for a specific category by purchasing the universal substitute from the Expansion Hub.
There is also a system for exchanging different Document types, although the exact mechanics were not yet known at the time of this guide.
Daily Document Limits
You can’t farm Documents indefinitely.
The Battle Pass has a daily limit shared across all characters. The current limit can be checked at the bottom of the Battle Pass page, where the Document types are displayed.
| Game mode | Daily Document limit |
|---|---|
| PvP Zone | 15 |
| PvE Zone | 10 |
| PvP Season | 25 |
PvE has the lowest limit at 10 Documents, which makes sense considering it is the easiest mode of the three. Documents also don’t appear to spawn in Practice Mode.
If you have access to PvE, starting there is a good way to grab your first 10 Documents before moving elsewhere.
The same limit applies across your characters, so swapping between them won’t reset the daily allowance.
Ground Zero Document Locations
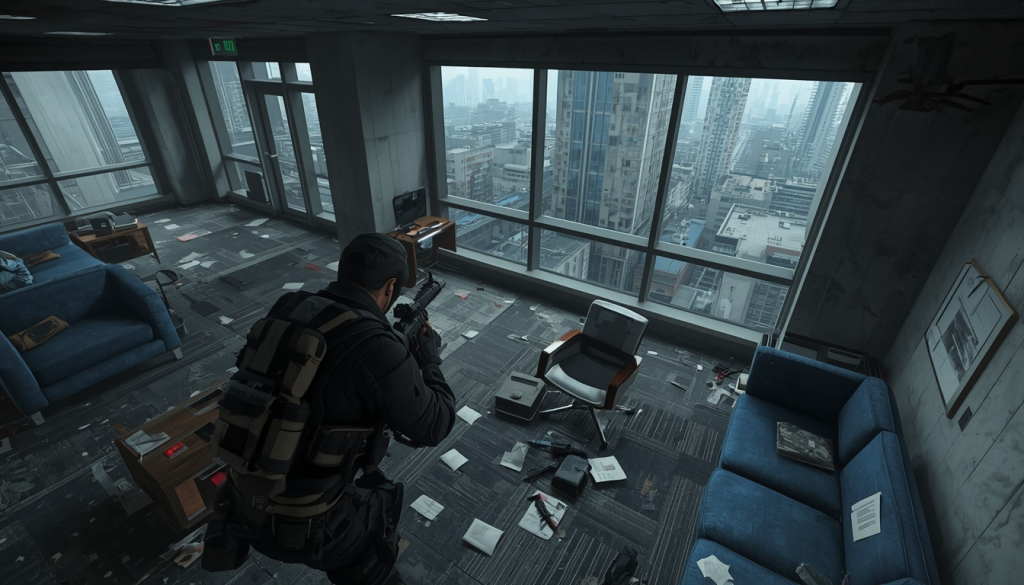
Possible types: Medical documents and User documentation.
Ground Zero’s most important Document route runs through the TerraGroup building, which is also the building where you start the game.
TerraGroup Building — Second Floor
Check these locations:
- Blue couches: Go upstairs and inspect the tops of the blue couches.
- Hallway bench: Enter the door at the end of the hallway, turn left, and check the top of the bench.
- Room 3 workstations: Search the workstation desks throughout Room 3. Medical documents can spawn on one of them.
- Room 4 workstations: Room 4 is locked from the hallway. Reach it by entering Room 3 and crossing the balcony.
The second-floor reception is another area worth checking. Search the reception desk, blue couches, and chairs with coffee tables before moving down the corridor.
Inside Room 3, check the kitchen and the table with medical supplies as soon as you enter. Then search the other desks with PCs.
Room 4 can be reached either through the balcony outside the window or by taking the key from the dead scientist on the first floor. Once inside, search every PC workstation.
Do not waste time opening drawers or loot containers. The Document spawns are on exposed surfaces.
Additional Ground Zero Spots
Several newer locations have also been reported:
- Tarbank — ground-floor glass table: Check the glass table near the barbed-wire area.
- Tarbank — second floor: Search desks and other exposed surfaces upstairs.
- Coffee Maniac — rounded table: User documentation can spawn on the rounded table inside.
Factory Document Locations
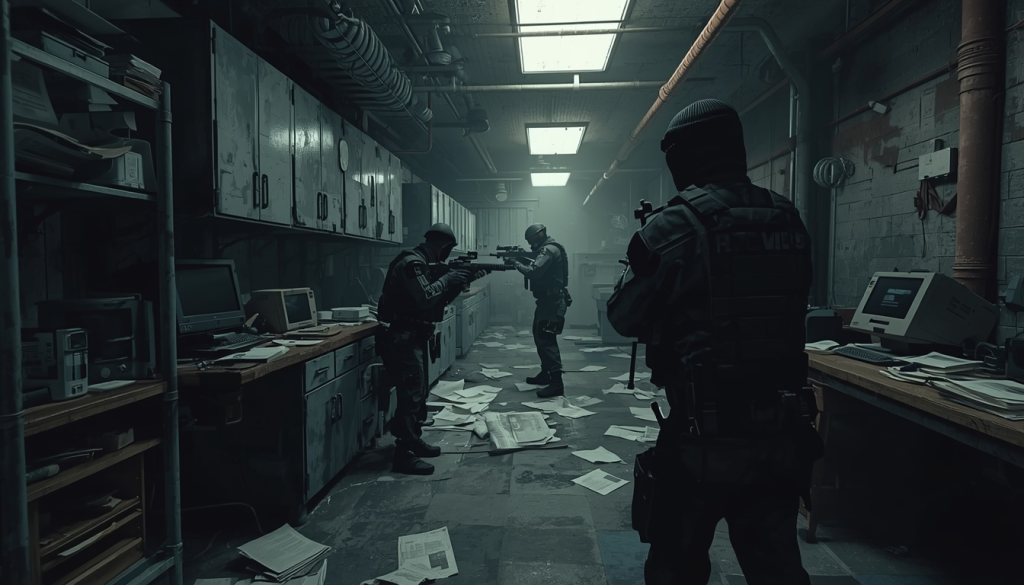
Possible types: Blueprints and technical documentation, plus Project documentation.
Factory has several useful routes, particularly around the Med Laboratory and administration areas.
Med Laboratory Near Gate 2
- Ground-floor wooden bench: Enter the laboratory building near Gate 2 and inspect the bench near the entrance.
- Second-floor laboratory desk: Go upstairs and search the desk in the indicated room.
The lab itself does not appear to contain Document spawns. The important locations are the bench on the ground floor and the office connected to the second-floor lab.
In that office, Documents may appear on the toppled table or in the table niche beside it.
Third-Floor Administration Offices
The familiar administration office with the safe has several possible locations.
- Check the open desk drawer.
- Search the top of the metal cabinet beside the older PC with the blue screen.
- Check the desk near the cabinet.
- The neighboring office can be breached. Search around the metal cabinet inside for Project documentation.
First-Floor Office
There is another room that cannot be entered normally.
Leave the building, move around to the window at the rear, and climb inside. Once there, search the desks and filing cabinets.
Gate 1
At Gate 1, turn around and follow the right wall. Find the two jackets and inspect the nearby blue lockers.
More Factory Spawns
Additional reported locations include:
- Polikhim keycard room: Check the floor beside the safe on the right for Project documentation.
- Gate 3 workshop: Search the desk near the toolbox inside the small workshop or shipping-container-style room.
- Laboratory building kitchen: Check the kitchen area below the laboratory.
- Scav Bunker: Search the server racks above the bunker.
- Gas Analyzer room: Inspect the desktop beside the lamp.
- Gate 3 shipping-container room: Search the desk inside.
Woods Document Locations
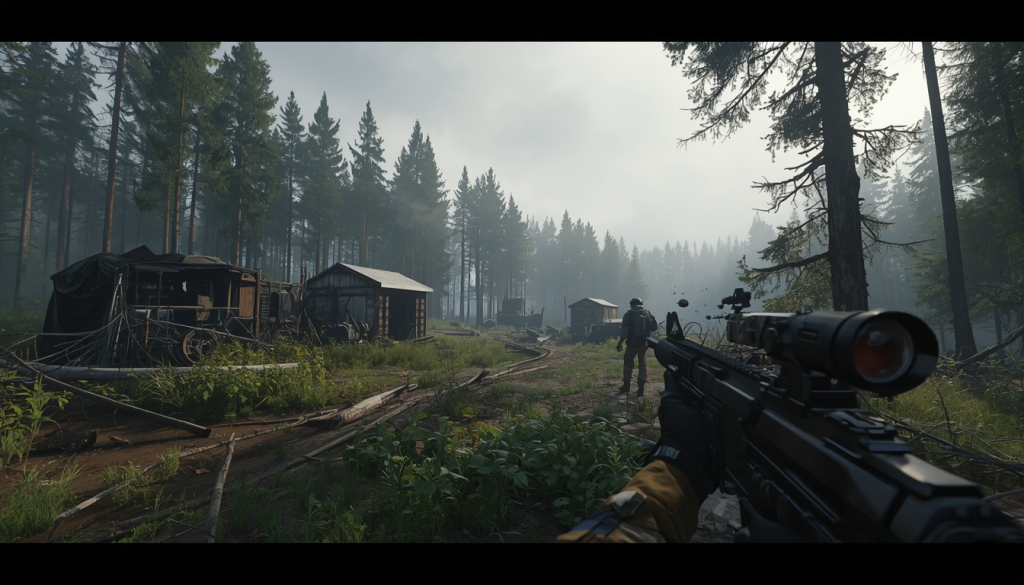
Possible types: Technical documentation and Test documentation.
Woods originally looked like a map with only a handful of useful spawns, but that list has grown considerably.
The earliest confirmed locations include:
- Crashed plane cockpit: Enter the aircraft cockpit and search inside.
- USEC checkpoint near Sawmill: Check the top of the filing cabinet inside the small checkpoint cabin.
- Dead PMC near Scav House: Find the damaged black SUV and inspect the ground beside the dead PMC.
The plane cockpit is particularly quiet and generally only attracts players completing early Jaeger or Mechanic tasks.
The USEC checkpoint is busier because it sits on the route toward the pickup extract. Check the two metal cabinets there.
The third original location is outside, on the road between the checkpoint and the Scav House with the mounted LMG. Look for the burnt SUV and tarp-covered body. A Document can spawn around the tarp.
A lootable dead USEC may also appear near the vehicle, so check the area carefully before standing still to loot.
Additional Woods Locations
Most of the newer Woods spawns are concentrated around USEC Camp, EMERCOM, and Sawmill.
- USEC Camp: White plastic chair.
- Sniper rock: Sleeping bags near the huge sniper rock.
- EMERCOM Camp: Beside the corpse inside the white container.
- USEC checkpoint: Around the portable toilet.
- Southern USEC Camp: Chair beside the green barrel.
- Southern USEC Camp: Beside the bed inside the southernmost tent.
- Northern USEC Camp: Near the corpse and stretcher.
- Old Sawmill: Floor of the southern prefab building.
- Old Sawmill: Floor beside the bookshelf in the brick building.
- Sawmill: Drawer inside the small lakeside shack.
- Sawmill: Chair inside the northernmost of the three small huts.
That makes Woods a much stronger Document-farming map than the original three-location route suggested. If you’re already traveling through USEC Camp, there’s little reason not to check the nearby spawns.
Interchange Document Locations
Possible types: Blueprints and technical documentation, plus Financial documents.
The first important area is the office between OLI and GOSHAN.
Enter the smaller control-room-style office and check the desk beside the stack of books. Financial documents have been found there.
The IDEA office is another useful stop. Search the desk immediately to the left and then check the tops of the other desks around the room.
There are also newer reports worth checking:
- OLI information desk: Inspect the kiosk or information desk nearest the loading docks.
- Computer rooms: Search desktops for Blueprints and technical documentation.
When facing GOSHAN, turn right and go through the double doors leading into the offices. Search the desks in the smaller office.
The offices beside IDEA are also worth checking. They’re on the left end of the store when you’re facing it.
There are reports of Documents in newer exterior areas of Interchange, but exact spawn surfaces had not been identified well enough to recommend a precise route.
Customs Document Locations
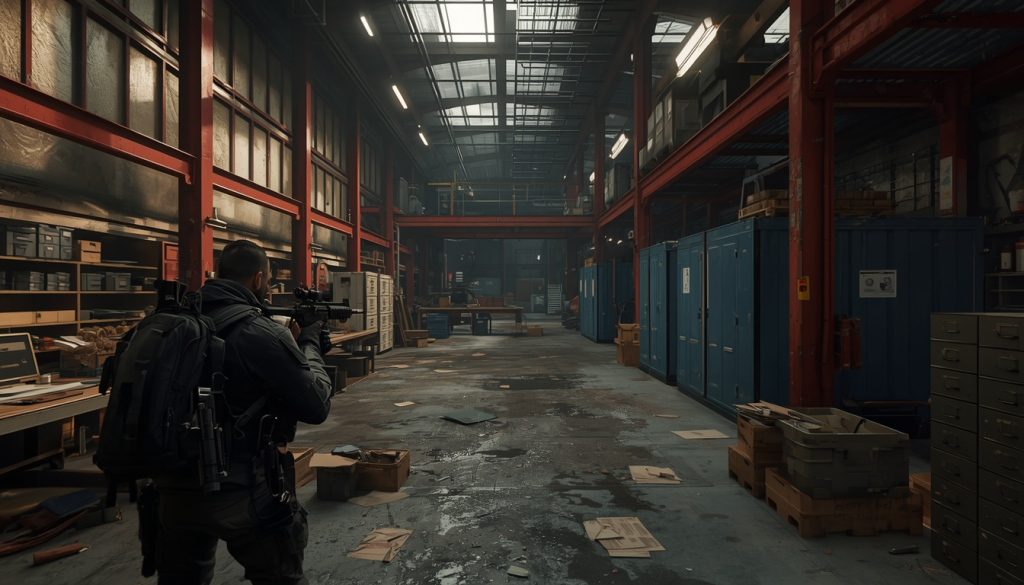
Possible types: Project documentation and Financial documents.
Customs has a number of useful Document locations spread across familiar areas.
Big Red
Around the red Customs administration building:
- Search both blue shacks beside Big Red.
- Check desks and cabinet tops.
- One of these locations has produced Financial documents.
- Cross to the opposite side of the warehouse and check the separate blue shack.
- Search the desk and filing cabinets.
- Inside Big Red, unlock the Customs office with the Customs office key and search the tables in the first room on the right.
Crackhouse
Go upstairs into the library room.
Check:
- Tables
- Filing cabinets
- Bookshelves
- Gaps between books
Financial documents can be tucked between books on the far bookshelf in the corner.
Stronghold
Enter the smaller interior area with the couch and check directly on top of it.
Old Gas Station
Search the desk, floor, and shelves inside the station.
Two-Story Dorms
There are two known areas:
- The ledge or table near the room described as the guardhouse key room.
- Room 216: Search the desk and cabinets upstairs.
Three-Story Dorms
- Search the unlocked guard room.
- Go to Room 212 and inspect the desk with the computer.
- Room 304: Unlock the room and check the nightstand for Financial documents.
The easiest Customs route to memorize starts around Big Red. Check both blue shacks, including desks and metal cabinet tops, before moving into the administration offices.
The administration building requires a key, but you’ll probably have one anyway because of an early task. Once inside, search every office desk.
Behind the two factories is the medical building overlooking the Scav base. Go to the second floor and check filing cabinets, desks, and bookshelves. Documents can even appear between books.
Another spawn is inside the Scav base, in the room with beds and a couch. This is also the area connected to the task involving posters for unlocking the Ref trader. Check the couch.
Finally, check the Old Gas Station, the exterior reception area of the two-story dorms, Room 216, the three-story dorm reception, and Room 212.
The Lab Document Locations
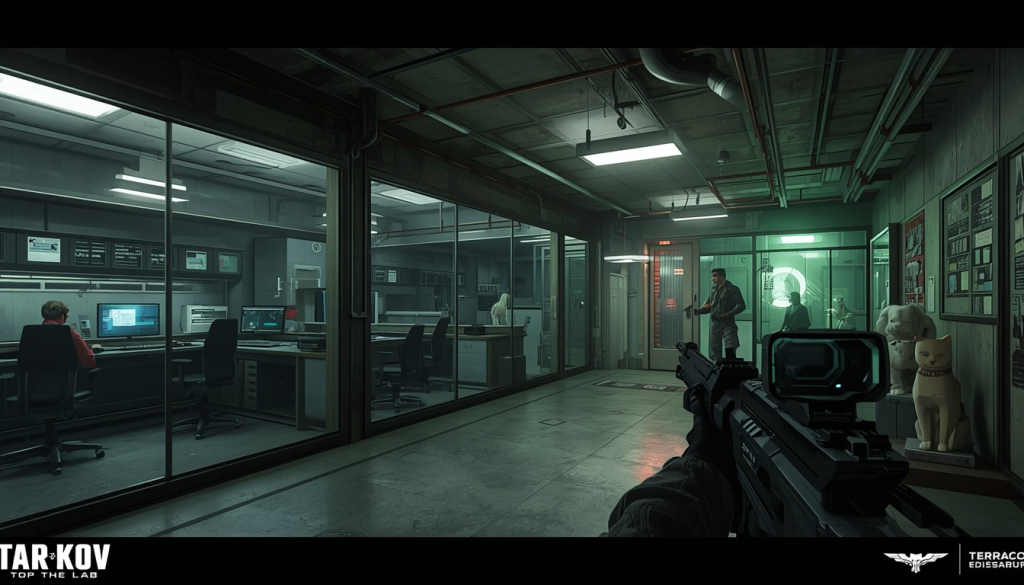
Possible types: Medical documents and User documentation.
Labs may be one of the least convenient places to farm Documents, especially if you’re entering solely for this purpose.
The easiest location to remember is on the second floor above reception.
Look toward the cat statues and turn right. Enter the unlocked room, break the glass, and check the oval meeting table.
Other locations include:
- Green Keycard medical area: Search the medical section, although the exact surface was not identified.
- Red Keycard side: From the cat statues, turn left and check the workstations opposite the Red Keycard room.
- Green Keycard area: Turn left after entering Green and check the table beside the bookshelf.
- Residential Unit: Check the desk in the first room on the right.
- Residential Unit rear room: Search the desk farther inside.
- Southern offices: Check the table.
- Parking area: Search the table around the parking section.
- Violet/Red area: Check the furthest PC desk.
- Black room area: Search the large glass-office table near Black Keycard.
- Black Keycard area: Check the nearby office.
For the original reception route, check the larger meeting-room desk and laptop.
Then return to the cat statues and take the left route. The first door on the left requires a Red Keycard; search all the tables inside. The area next to the Infirmary is another option, but it requires the Green Keycard.
Shoreline Document Locations
Possible types: Technical documentation and Test documentation.
Shoreline’s confirmed spots include:
- Pier emergency beds: Check around the beds outside the main Pier building for Test documentation.
- Pier main building: Search the counter for Technical documentation.
- Weather Station: Go to the second floor and inspect desks and exposed surfaces.
- Gas Station: Move past the burning shelves and check the office desk on the right.
- Cottage: Search the desk near the rear entrance.
- Smuggler’s Base: Enter the southern warehouse and check around the white chair along the northern wall.
There are also reports of Documents around Resort, Power Station, Pier, and Smuggler’s Base, but the exact spawn surfaces in those areas had not been confirmed well enough to list as reliable locations.
If you’re already moving through those areas, checking them can’t hurt. But don’t waste an entire raid searching random desks without a confirmed spawn.
Lighthouse Document Locations
Possible types: Technical documentation and PMC personnel files.
Lighthouse has a surprisingly large number of Document spawns, although several require a trip into the Water Treatment Plant.
| Location | What to check |
|---|---|
| Water Treatment Plant Building 2 | Radio room near the vehicle |
| Scav Village | Bedroom upstairs in the red two-story house |
| Water Treatment Plant southeastern basin | Tent |
| Blue Chalet | Upstairs bedroom, rounded table |
| Big Chalet | Garage desks and exposed surfaces |
| Double Pier | Right-side building, with at least two possible spawns |
| Big Chalet | Small side building near the grill |
| Small Chalet | Bedroom |
| Big Pier building | Desks and tables on upper floor |
| PMC House | Right side of upper floor |
| Small Chalet tennis court | Nearby tent |
| Water Treatment Plant Building 3 | Desks and work areas |
| Blue Chalet | Table beside the wine room |
| Central western Pier | Second-floor table drawer |
| Water Treatment Plant Building 1 | Western office on the second floor |
Lighthouse is particularly attractive if you’re hunting PMC personnel files, simply because so many potential locations can be checked in a single raid.
There’s just one problem: the Water Treatment Plant means dealing with Rogues, and they can turn an innocent Document run into a very short trip back to the menu.
Reserve Document Locations
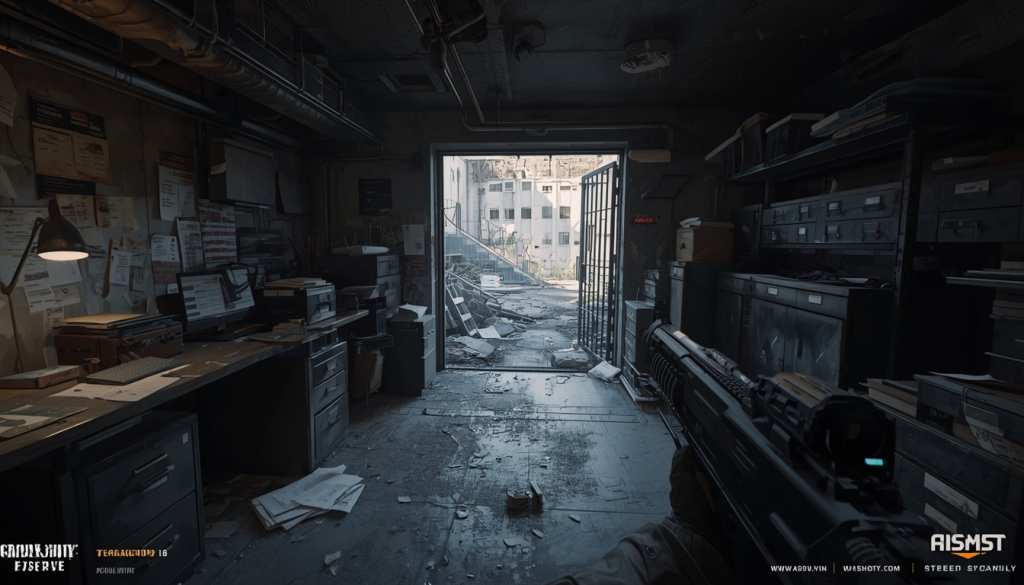
Possible types: Project documentation and PMC personnel files.
Reserve rewards players who bring the right keys.
- D2: Enter the room directly opposite the extraction and search the furniture and exposed surfaces.
- Black Bishop underground: Check the desk below Black Bishop.
- RB-KORL: Search the shelving immediately to the right after unlocking the room. One reported spawn is on the second shelf from the bottom.
- RB-KORL: Check between shelving units for Project documentation.
- RB-KPRL: Look to the left of the blue weapon locker or safe.
- RB-KPRL: Search the surfaces around the window.
- Command Center: Check the floor near the desks beside the D2 power switch. This location is community-reported and should be treated as a secondary spot.
RB-KORL and RB-KPRL are especially useful because each has multiple reported Document locations.
Streets of Tarkov Document Locations
Possible types: Financial documents and User documentation.
Streets has several locations worth building into normal routes:
- TerraGroup building server room: User documentation can spawn inside.
- Unity Credit Bank: Search the desks for User documentation.
- Cardinal Residential Complex: Check the table inside the corporate apartment.
- Y21 garage extraction room: Search the table in the extraction activation room.
- Unity Credit Bank: Financial documents can also appear here.
- TerraGroup reception: Search the shelving under and around the reception counter.
- TerraGroup security room: Check the bookshelf.
- TerraGroup security room: Search beside the drawers for another possible spawn.
- Financial institution: Go to the second-floor meeting room and inspect the desk.
- Office behind Beluga: Go upstairs and search the shelving.
There are additional reports around Concordia, LexOs, Cardinal, and the Klimov area, but the information wasn’t specific enough to call those confirmed spawn points.
For now, the locations above are the better bet.
Icebreaker Document Locations
Possible types: PMC personnel files and Test documentation.
Icebreaker has picked up a large number of newly discovered Document spawns, and the map’s relatively linear layout makes it possible to check several without going wildly off route.
Start with:
- Room opposite the green flare: PMC personnel files can spawn here.
- Green flare area: Test documentation can appear around or underneath the flare.
- Level 1 Infirmary Medical Office: Search the desk for PMC personnel files.
- Level 1 medical area: Check exposed surfaces for Test documentation.
- Med Storage: Search shelves and exposed surfaces.
- Before the helipad: Check the group of nearby crates.
- Small room before the helipad: Search the shelving at the back.
- Level 2 drone room: Check the room before reaching the helipad.
- Secured room beneath the helipad: Search the shelving.
- Password room above the boss area: Check underneath the desk for PMC personnel files.
- Same password room: Search the bookshelf for Test documentation.
Because so many of these spawns sit along the normal route through Icebreaker, there’s little reason to make a dedicated detour for just one. Check them as you move through the map.
The Labyrinth Document Locations
Possible types: Medical documents and Blueprints and technical documentation.
The Labyrinth has a simple rule of thumb: when you find a dead TerraGroup scientist or employee near an important location, look around the body.
Confirmed locations include:
- Prototype Weapons meeting room: Check the wooden crate.
- Prototype Weapons meeting room: Search beside the dead scientist.
- Observation Room: Check beside the scientist’s body.
- Central tractor area: Search the ground beside the dead scientist.
- Observation Room key door: Check around the dead worker.
Medical documents can spawn around the dead worker near the Observation Room key door.
How to Farm Kord Breach Documents Efficiently
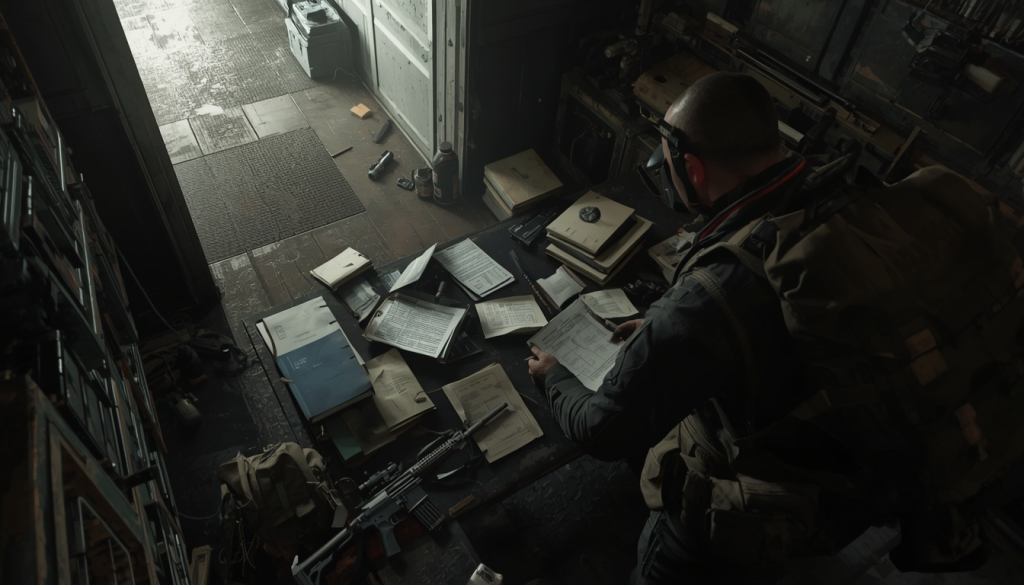
The Battle Pass is much easier to manage once you stop treating every Document like a reason to throw yourself into a dangerous raid.
Keep these rules in mind:
- Watch the daily cap.
- Documents of the same type can be stacked in your inventory and stash.
- Multiple Documents can spawn in a single raid, so finding one doesn’t mean you’re finished.
- Keep enough room in your secure container, even if you’re using an Alpha, so you can protect important Documents during extraction.
- PvE is the recommended starting point if you have access to it.
- Scavs can find Documents too, which means you don’t always need to risk your PMC.
- Start with the smaller maps, particularly Ground Zero and Factory. Watch out for Tagilla on Factory.
- Move on to Customs, Interchange, Woods, and the other maps afterward.
- Some Document spawns are behind locked doors, so bring the required keys.
- The Battle Pass has 12 pages. You must unlock every reward on the current page before you can claim rewards from the next page.
- Classified Documents are not required to unlock every Battle Pass reward.
The simplest farming plan is to take advantage of the shared daily cap intelligently: grab the first 10 Documents in PvE, then use the remaining 15 primarily through Scav runs.
That’s a lot less painful than risking your PMC for every piece of paperwork.
Is the Kord Breach Battle Pass Worth Farming?
For a first Battle Pass, Tarkov’s system is certainly unusual.
There’s no traditional XP grind, and there isn’t a premium track locking the best rewards behind a purchase. Instead, progression turns ordinary raids into scavenger hunts for very specific items.
That can actually be refreshing.
Documents give you another reason to learn maps at a more granular level. Instead of simply knowing where the extracts, quests, and high-value loot are, you start memorizing tiny details: a particular chair at USEC Camp, a desk in a TerraGroup office, a drawer in Dorms, or a table beside a dead scientist.
And because the rewards remain unlocked after the season ends or a profile is reset for prestige, there’s a permanent payoff for finishing the grind.
The system also gives you flexibility. You can farm on PvP, Seasonal PvP, or PvE, use Scavs instead of risking a PMC, stack matching Documents, and even pull multiple Documents from one raid.
Just remember that the daily cap is shared across your characters.
Battle Pass Document Checklist
For a quick reference, the regular Document categories are:
- Technical documentation: Shoreline, Woods, Lighthouse
- Medical documents: The Lab, Ground Zero, The Labyrinth
- User documentation: Ground Zero, Streets of Tarkov, The Lab
- Test documentation: Shoreline, Woods, Icebreaker
- Blueprints and technical documentation: Interchange, Factory, The Labyrinth
- Project documentation: Factory, Reserve, Customs
- PMC personnel files: Reserve, Lighthouse, Icebreaker
- Financial documents: Customs, Streets of Tarkov, Interchange
- Classified documents: Expansion Hub; substitutes for any regular Document
The current guide’s spawn list is still a work in progress. Not every possible location has been discovered or independently verified, and additional spawns are expected to be added as players find them.
So if you discover a new one, don’t assume the guide is wrong because your favorite desk isn’t here yet. Tarkov has a talent for hiding important things in places you’d never bother checking twice.
Kord Breach Battle Pass Changelog
August 9, 2026: Added Document spawn locations for Shoreline, Lighthouse, Reserve, Streets of Tarkov, Icebreaker, and The Labyrinth. Added additional spawn locations for Ground Zero, Woods, Factory, Interchange, Customs, and The Lab.